Centre de Jardin Brossard: Your Best Ally for Seed-Starting Season
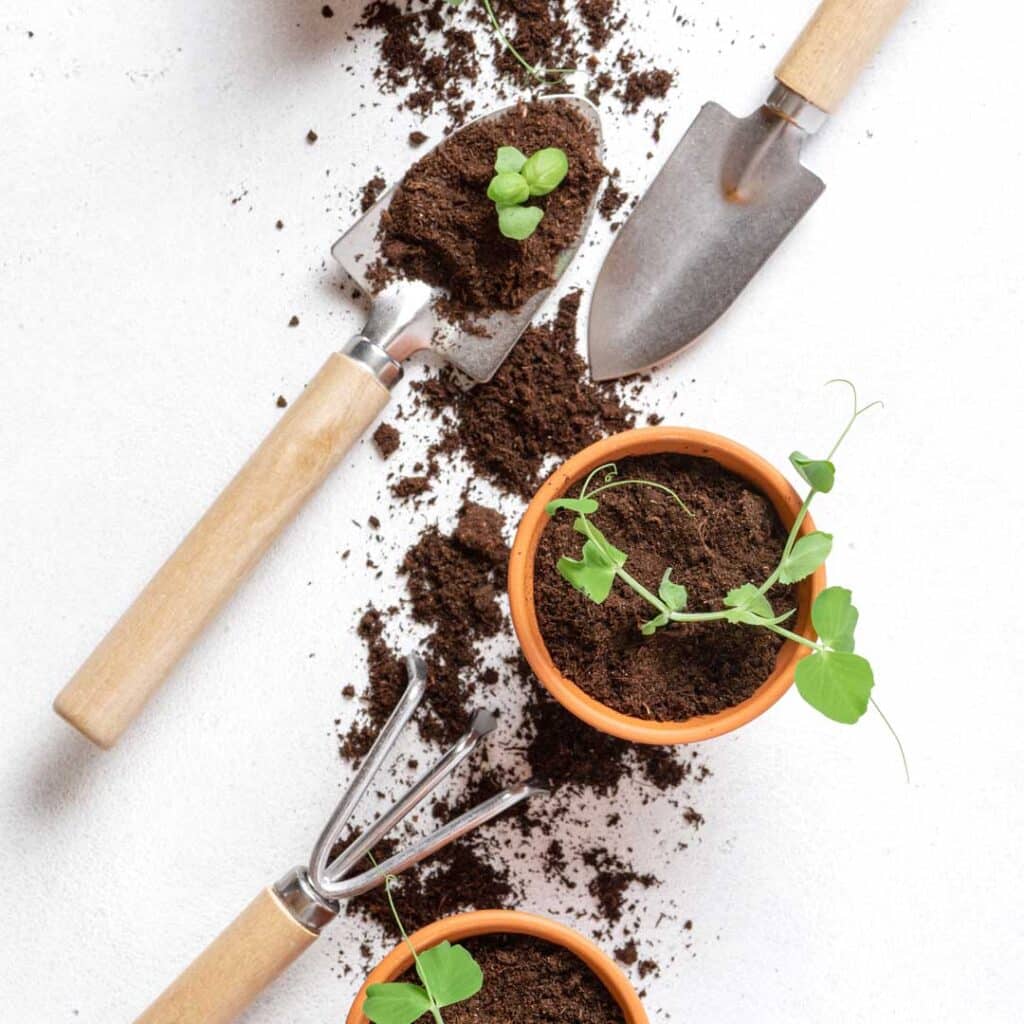
For gardening enthusiasts, seed-starting season is exciting. For others, it can seem highly complex. Good news—it could not be simpler! In fact, seed-starting at home is possible and requires little equipment. It is an economical way to harvest a wide variety of vegetables all summer long—you’ll be charmed by the experience and its benefits!
For successful seedlings, come see us at the garden center!
Centre de Jardin Brossard has a team of specialists to help you start your seeds and advise you on the best products for your needs. You’ll find a vast selection of high-quality gardening products at competitive prices.
The best equipment for healthy seedlings is :
- seed-starting soil mix;
- seed-starting fertilizers;
- organic seeds;
- trays for seeds;
- plastic domes for humidity;
- containers for starting seeds;
- containers for transplanting;
- grow light kit for seed-starting;
- heat mat with thermostat;
- identifier for seedlings;
- water sprayer; and
- much more, depending on your level of excitement!
Optimize your results with these top tips from our experts:
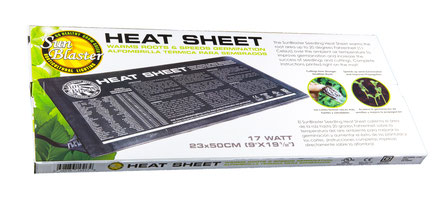
Seedling mat with thermostat
A seedling mat with thermostat enables gardeners to achieve a high level of success with their seedlings. It accelerates seedling growth, providing constant heat to promote seed germination. The heat allows seedlings to develop continuously, giving you strong, healthy seedlings.
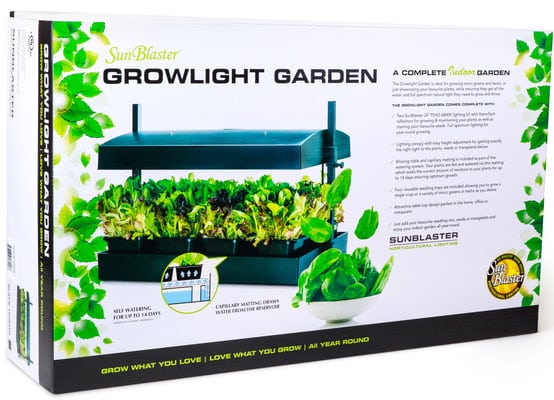
Grow light kit
The artificial light provided by a grow light is important for the development of your seedlings. Seedlings need between 14 and 16 hours of light per day for optimum growth. A grow lamp will give you stronger, fuller, more regular plants as well as a better survival rate.
Be sure to choose a neon or LED lamp because incandescent bulbs can burn your plants. It’s also important to keep the light at 15 to 20 centimetres from the foliage to avoid drying it out.
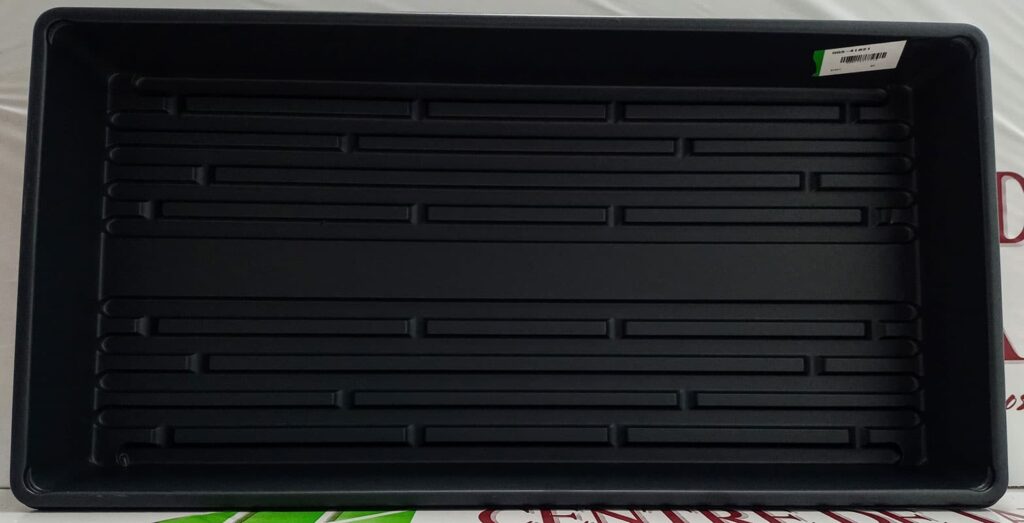
Seedling tray
A seedling tray is useful for creating a clean, structured gardening space. It helps organize the seedlings. The tray’s depth promotes water drainage, and its rigidity makes it easy to move seedlings around without causing any mess. It’s a simple, inexpensive, and effective tool.
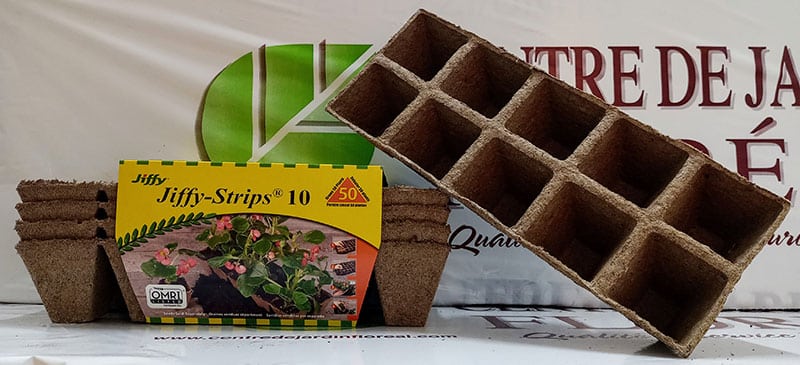
Jiffy seed-starter pots
As the seedlings grow, it’s important to transplant them into a larger pot, about 4 inches tall. Jiffy’s seed-starter pots are ideal for pricking out your seedlings because they can be planted directly into the soil when your seedlings are ready for transplanting to the garden. These biodegradable containers are specially designed for a quick, convenient, and environmentally friendly gardening experience.
Get the best products for seed-starting by visiting our garden center!
Choosing high-quality seeds for your seedlings
There’s a vast choice of seeds for seedlings on the market, but nothing is more beneficial than using organic or heirloom varieties adapted to the northern climate. Pesticide-free or GMO-free seeds are much better for your health. Your seedlings will grow in a balanced way and provide you with superb harvests all season long. Be environmentally conscious, and enjoy a healthful vegetable garden!
Ideal time to start indoor seedlings
When the days get longer and the weather warmer, it’s a sign that the return of seedlings is near! Sowing begins in early March and lasts for about two months, until early May. But not all seedlings have to be sown at the same time. It’s important to respect certain dates to ensure a bountiful harvest.
To consult our sowing calendar and get more information, please refer to our article,
or visit our store directly to benefit from the knowledge of our experts!
Here’s how to sow your seedlings successfully, step-by-step:
Step 1: Prepare your equipment.
Make sure you have all the basic equipment needed: seeds, tray, water and spray bottle, plastic dome, potting soil, labels, grow lamp, and containers.
Step 2: Fill your seed tray.
Moisten potting soil in a bowl, and then fill your tray cells. Pack the potting soil lightly, without compacting it.
Step 3: Sow your seeds.
Sow the seeds according to the instructions on the packaging. Water lightly.
Step 4: Identify your seedlings.
To avoid confusion, identify your seedlings by writing down the type of seed and the date it was sown.
Step 5: Preserve moisture and warmth.
Place a clear plastic dome over your seed tray. Be sure to place it under a grow lamp or in a warm place to speed up the germination process. Remove the plastic dome when the seedlings have germinated, and then spray them regularly to keep them moist.
Step 6: Transplant your seedlings.
When your seedlings have at least two real leaves, transplant them into larger containers. Handle your seedlings with care because their roots are fragile.
Step 7: Adapt your seedlings outdoors.
When there’s no longer any risk of frost, it’s time to take your plants outside. Place them in the shade for two days and then in the semi-shade for two days, before putting them in full sun.
Step 8: Plant your seedlings in the garden.
When warmer weather arrives, it’s time to transplant your plants to the vegetable garden. Enjoy fresh vegetables all summer long!
Pro tip: For optimum growth, make sure your seedlings never lack moisture and light. Every day, check that your potting soil is moist, but not soggy. A sprayer is the best tool to use. If water drops form inside the plastic dome, your seedlings have enough water—no need to add more. As soon as you see sprouts appearing, remove the dome and keep watering regularly. You’ll soon see that the time you invest in your seedlings is well worth it!
Discover a wide selection of vegetable, flower, and herb seeds for your seedlings at Centre de Jardin Brossard.